
Upload your Archive file into your Discovery Genie document set
Congratulations—preparing your materials for upload is the hardest part of using Discovery Genie. Now you are ready to upload your archive into Discovery Genie for processing.
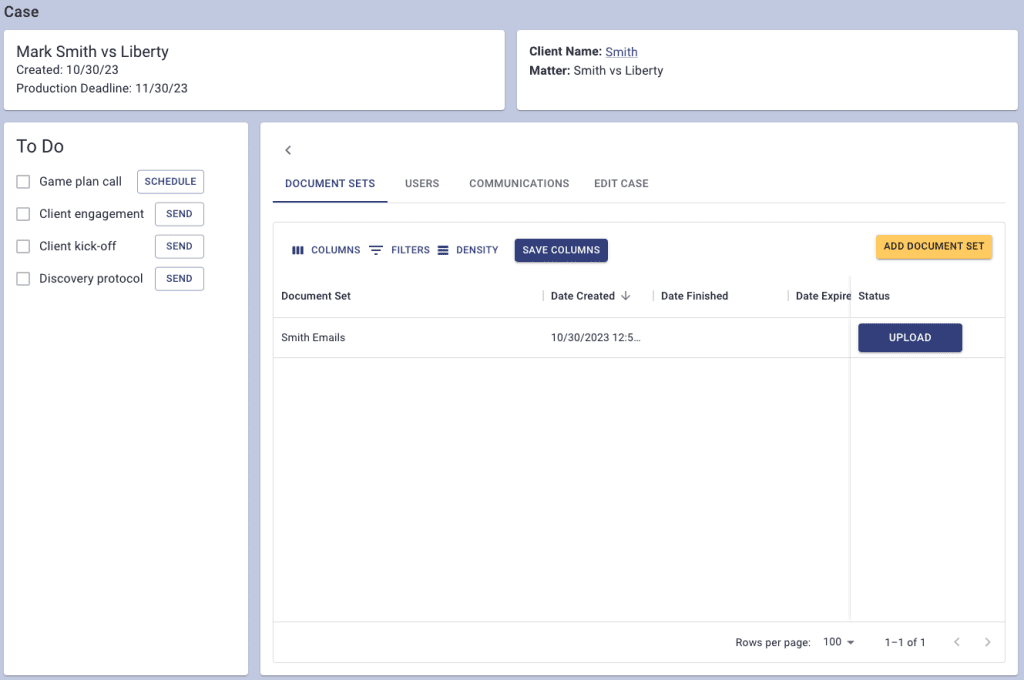
Go to Discovery Genie and find the document set you created. From the Cases Screen, find your Case in the table on the right, click on it to open the Case overview in the main window, and look at the section on the right to find your document set. Click on the Upload button next to your document set.
When you get to the upload screen you will have a couple of options to choose from. You can select “I will upload” or “client will upload”. You will also have some advanced options to choose from.
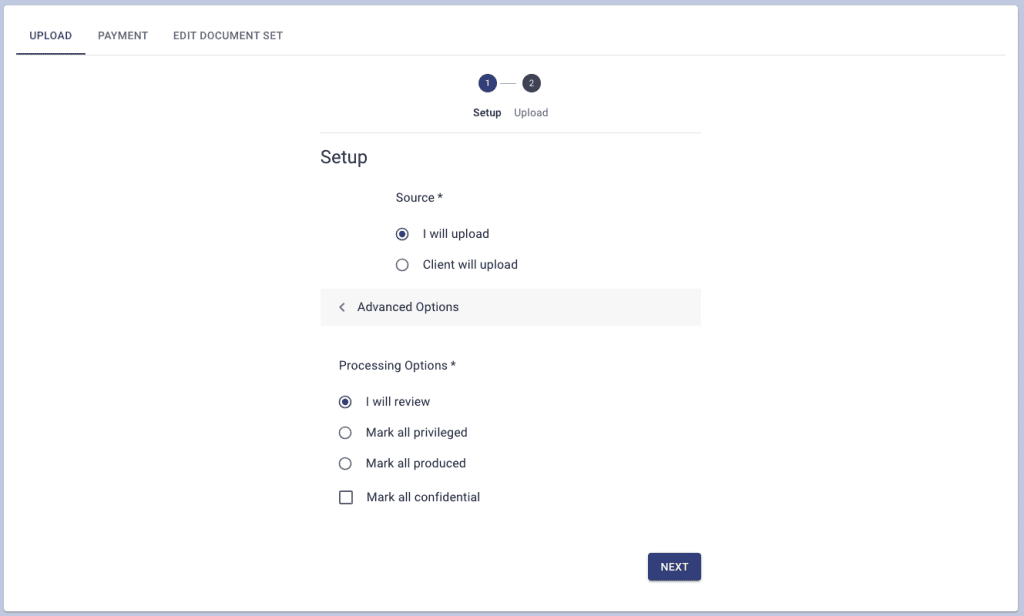
“I will upload”
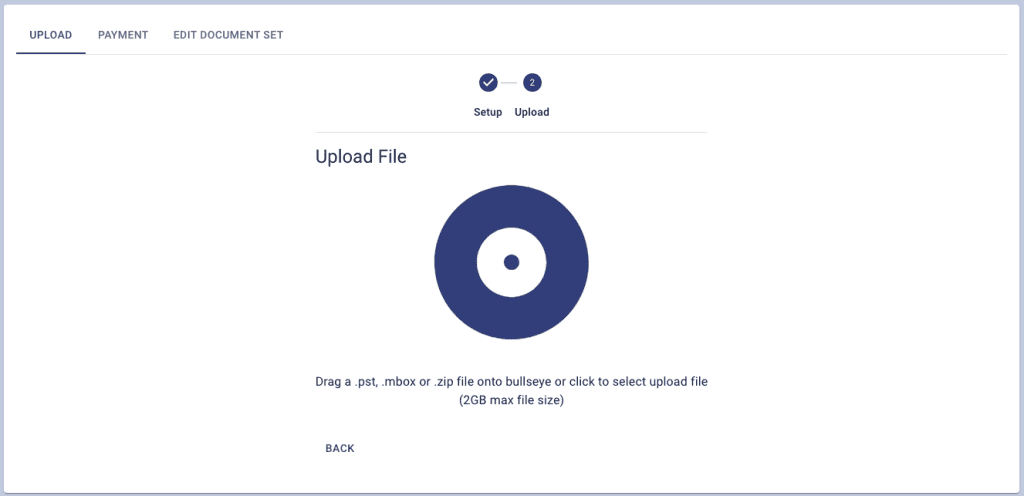
If you select “I will upload” and click the Next button, it will bring up the target to upload your file. Drag and drop your .pst, .mbox or .zip file onto the target. The Genie will automatically upload your .pst, .mbox or .zip, and take you to the next step. If you prefer to navigate to your file instead of dragging and dropping, simply click on the target.
Go get a cup of coffee if you’d like. The Genie will notify you by email when your Document Set is ready to review—it generally takes just a couple of minutes, depending on the size of the file you upload and the speed of your internet connection. It will appear in your case when it is done uploading.
“Client will upload”
The “client will upload” function seriously speeds up document production by allowing your client to upload her documents directly into Discovery Genie. No more sessions sitting over your client’s shoulder watching her gather the documents, just to hand them over to you to review and process them all over again. From here, the Genie takes over. The Genie sends your client an email request (with a copy to you) that walks your client through the process, step by step, of gathering the relevant emails or documents, saving them into a .pst, .mbox or .zip format, and then uploading directly into the Genie. You can also add additional instructions for your client and see a preview of the email before it is sent. Then, after the Genie receives and processes your client’s upload, the Genie emails you to let you know that the documents are ready to review.
Advanced options
Advanced options give you the ability to bypass the Review feature, by selecting either “Mark all privileged” or “Mark all produced.” This feature is handy if you do not need to perform a review and you just want to quickly process your documents to convert them to PDF, Bates number them, and index them. The “mark all confidential” checkbox will add the Custom Stamp on every document.