
Creating a Document Set
Discovery Genie keeps track of all the documents you need to review and produce in discovery for each case. Within each case, you may review and produce multiple sets of records, which are called Document Sets. Think of a Document Set as a set of emails (such as “Smith Emails” or “Client Emails”) or a set of electronic documents, like images, Word docs, Excel spreadsheets, or PDFs (“Contract Docs,” “Pictures,” or “Smith docs”).
To run a Document Set through Discovery Genie, the first step is to get your Document Set uploaded into Discovery Genie. There are three steps to this process (1) create a Document Set in Discovery Genie, (2) prepare your upload file on your computer, then (3) upload the file you created on your computer into Discovery Genie.
Find your Case in the “Cases” screen and select it by clicking on it. The Case overview screen will open in the main window. In the bottom right panel, give your first document set a descriptive name. Additionally you can modify the custom stamp. The Genie allows you to mark any document you designate with a custom stamp, which appears in the lower left of the page (across from the Bates number). The default is “Confidential,” which is useful if you have a protective order in your case. However, you can change “Confidential” to whatever you want—“Response to Subpoena 2319,” “Trade Secrets” or anything else you choose. If you’d like to modify the custom stamp, simply click “advanced options” and modify the custom stamp text.
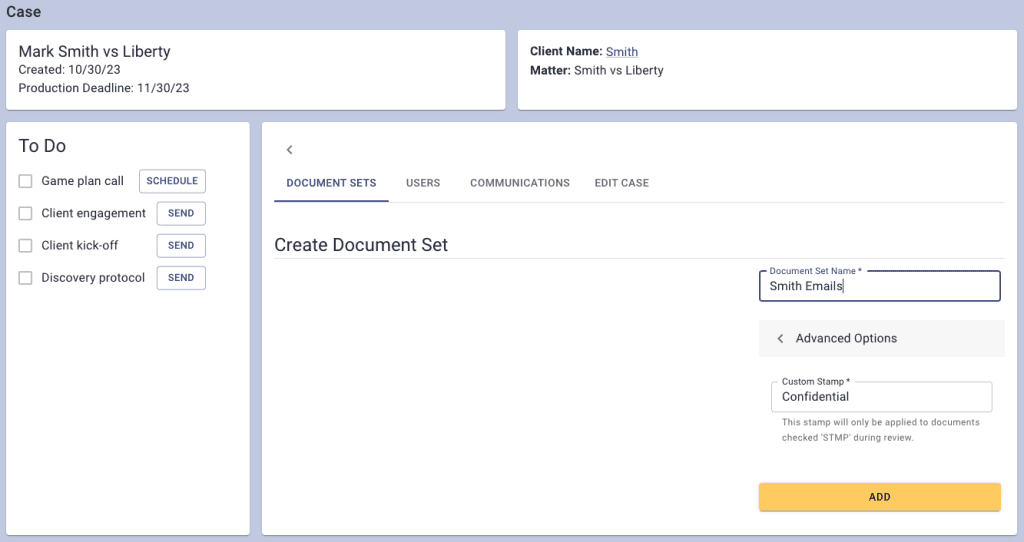
When you’re done, click “add”, and your document set will appear in the Case overview, ready for uploading your set of documents.